Oxygen Microscope and Oxygen Inclusion 3.2
What is new:
- Automatic creating 3D models of cavities
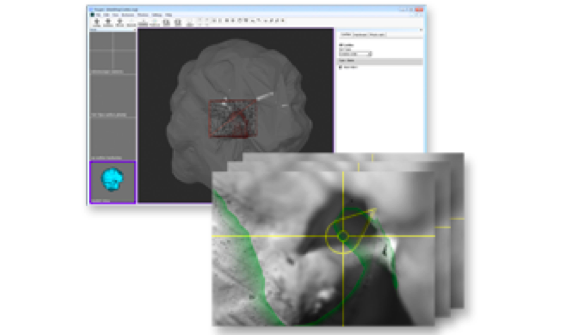
New automatic cavity’s allocation tool allows creating surface’s cavities that have not been detected by standard Shadow and LM methods and do it automatically. The new tool contains easy-to-use and convenient interface, works fast and accurate. After 3d model of cavity is created it will be cut off from the 3D model of rough diamond. So 3d model of rough became more precise now. - Improvements of autoexposure algorithm
The autoexposure algorithm reduces flickering for short exposures and offers superior image quality due improving of convergence criteria. - 64-bit Windows support
Now M-Box works with 64-bit Windows 7 and 64-bit Windows Vista with new release of Oxygen Microscope. - New Polish reports templates are available in the Oxygen Software
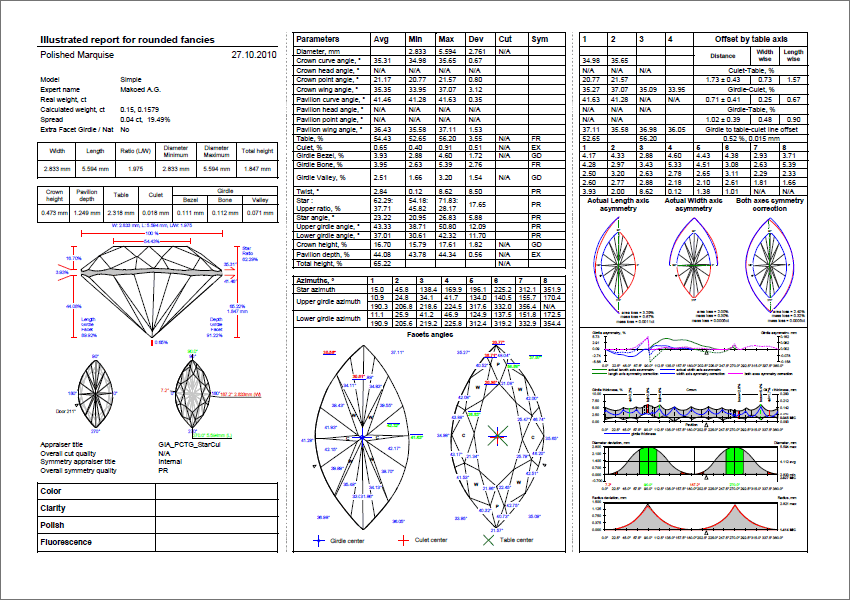
It has the advantages for analyzing girdle asymmetry and removing girdle asymmetry came from Helium Polish.
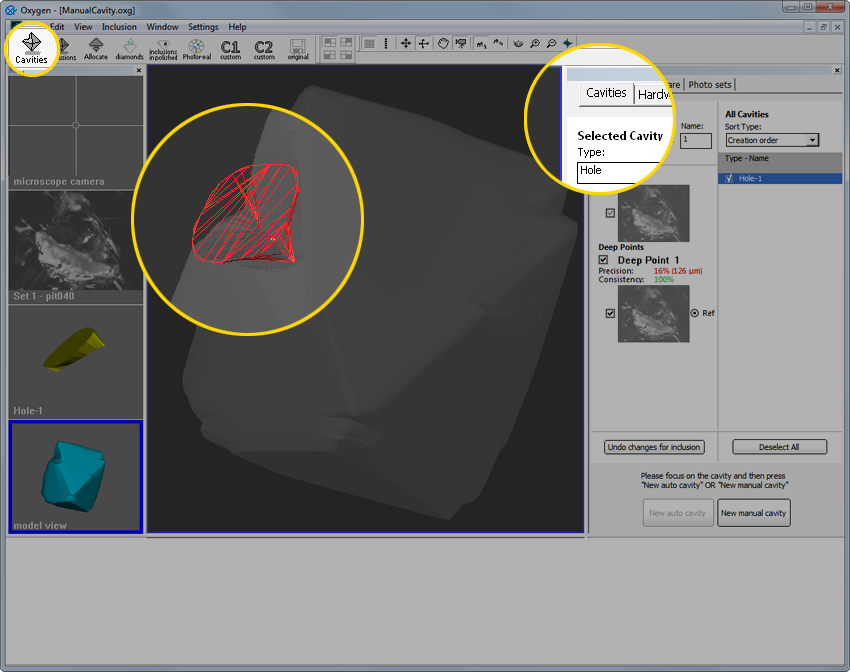
The new special working mode Cavities is designed for creating cavities. Now new cavities are created and modified in this new working mode.
What is new in cavities allocation and construction:
Cavities created in previous versions of Oxygen software are located in working mode Inclusions and can be edited there as well.
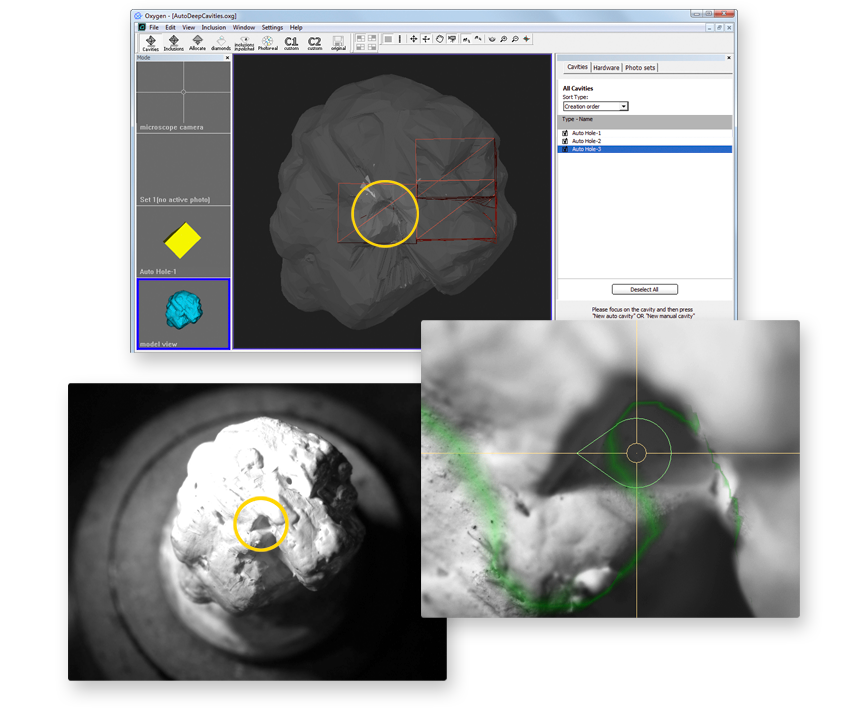
New automatic cavity’s allocation tool allows creating surface’s cavities that have not been detected by standard Shadow and LM methods and do it automatically. The new tool contains easy-to-use and convenient interface, works fast and accurate. After 3d model of cavity is created it will be cut off from the 3D model of rough diamond. The 3d model of rough became more precise now.
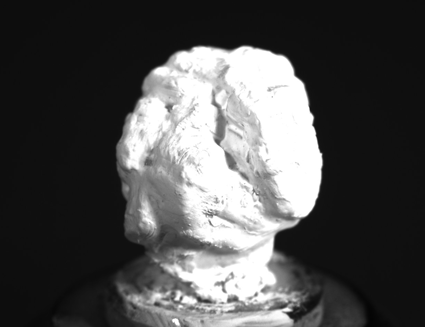
Procedure outline Step 1. Painting stone in white Step 1. Painting stone in white 1) Paint or cover rough diamond with microscopic powder before start working with new cavity automatic allocation option.
2) Put painted rough diamond into microscope.
Step 2. Locating a cavity in microscope 1) Switch to new Cavities mode
2) Activate Microscope camera view
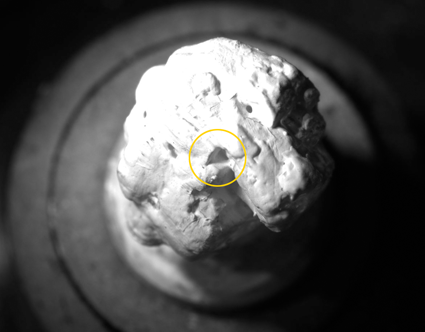
3) Locate a cavity
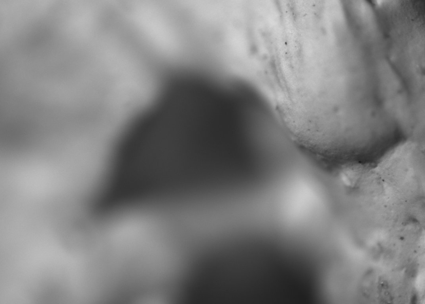
4) Focus on area near surface of cavity. We recommend using magnifications from 50x.
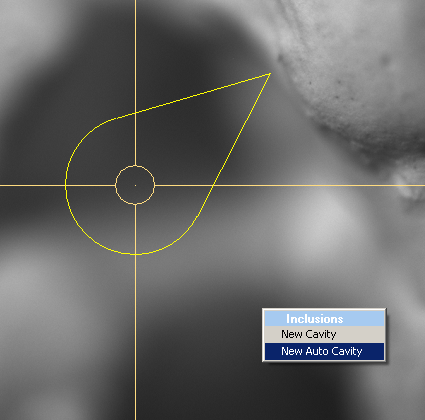
Step 3. Automatic building of cavity 1) Right-click on Scene and select New Auto Cavity in the context menu or press New auto cavity button in right panel.
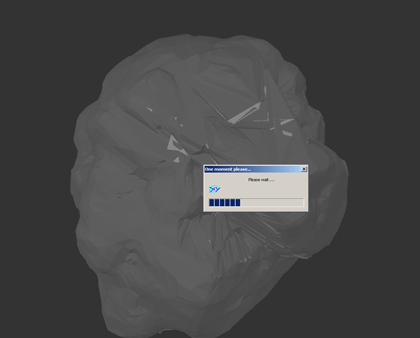
It is possible getting error message: Please decrease the light brightness or flickering effects may occur. See descriptions and suggestions below in the section Possible error message. 2) Wait until scanning is finished.
3) Then cavity is ready it's 3d model will be cut off from the 3D model of rough diamond automatically.
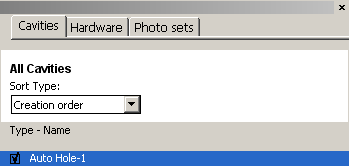
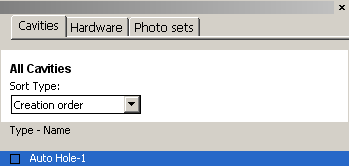
4) New cavity appears in cavities list. To disable or enable cavity use checkboxes:
Disabled 3D models of cavities are not cut off from the rough model and don not affect solutions during allocation.
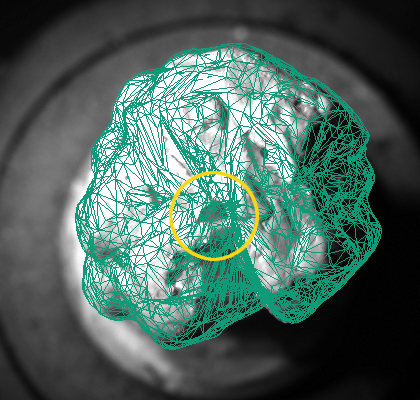
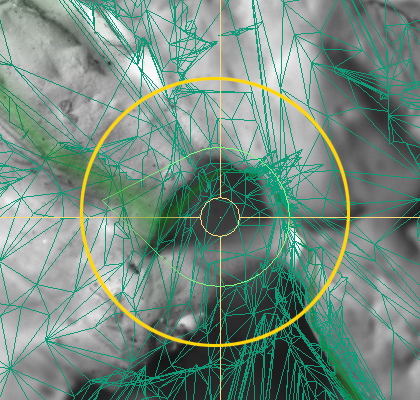
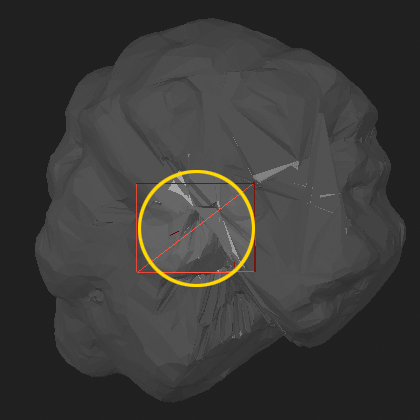
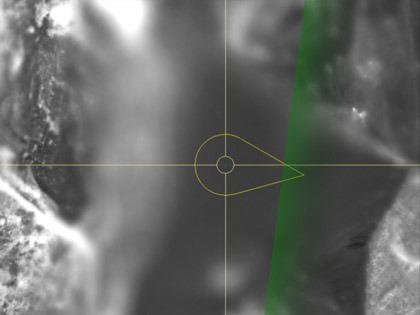
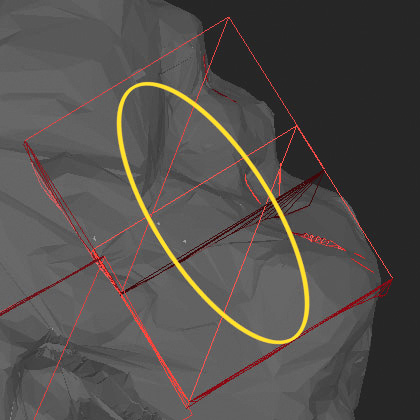
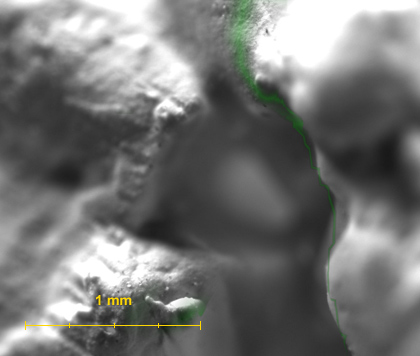
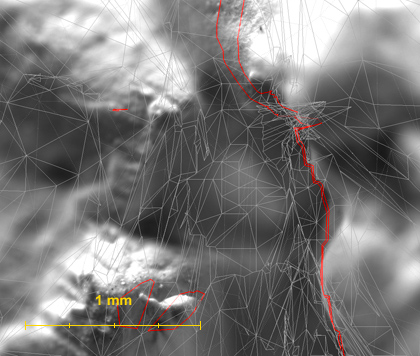
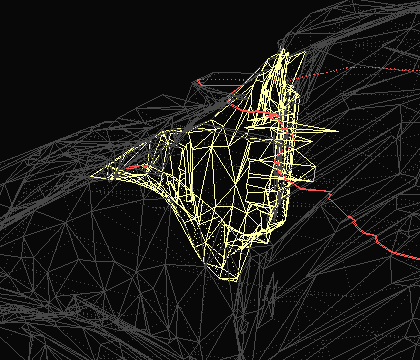
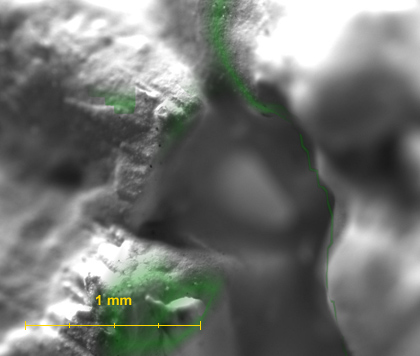
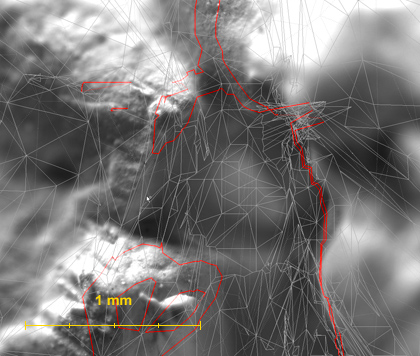
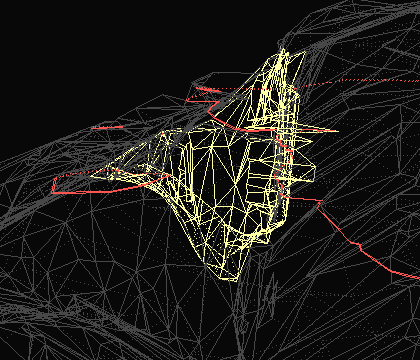
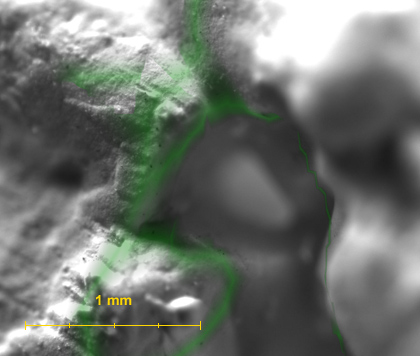
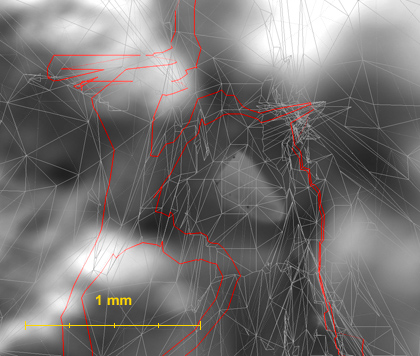
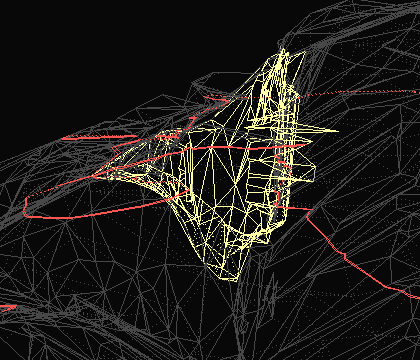
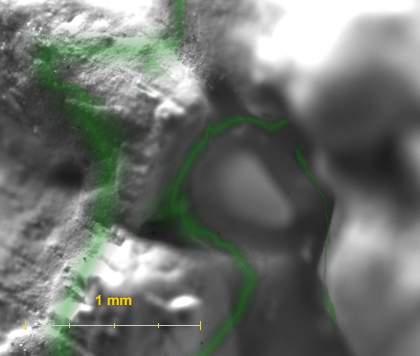
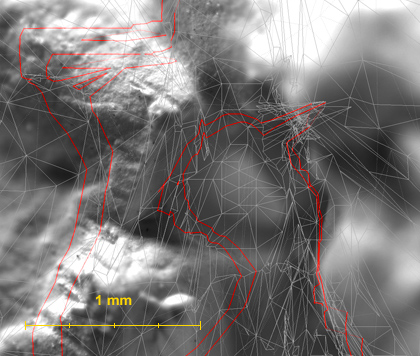
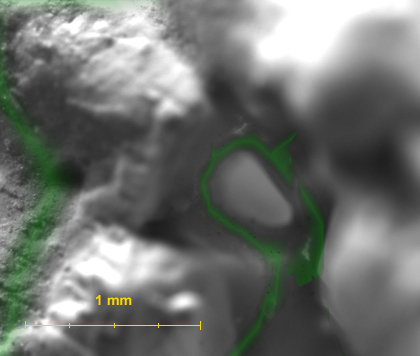
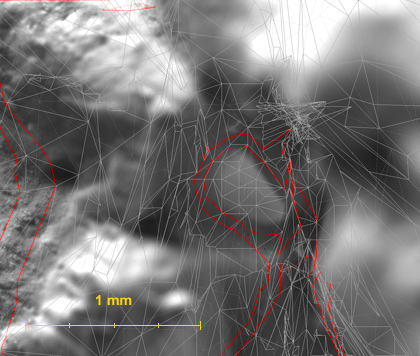
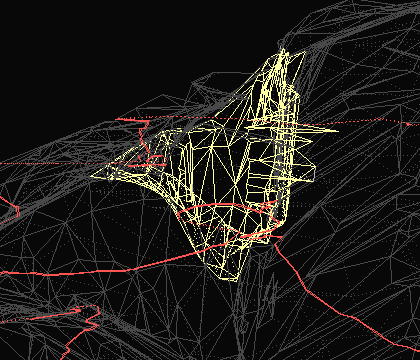
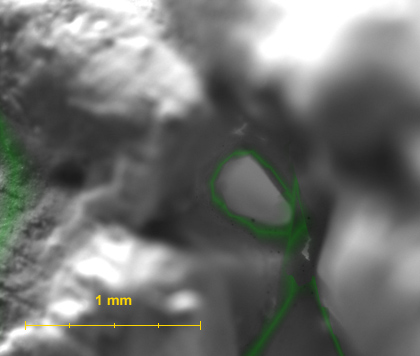
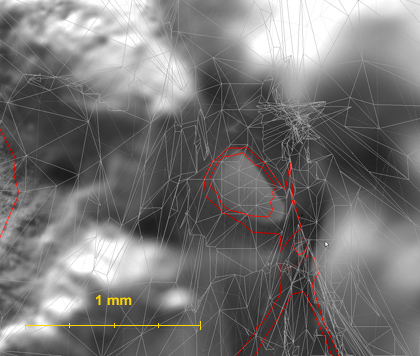
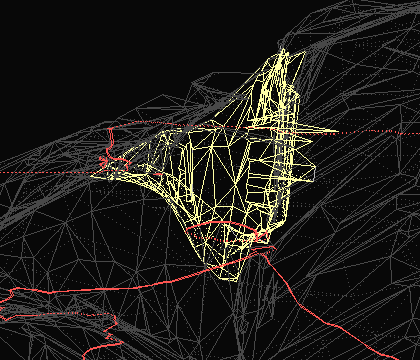
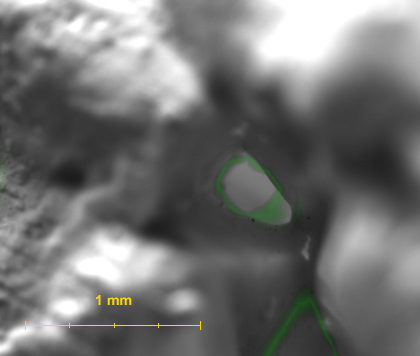
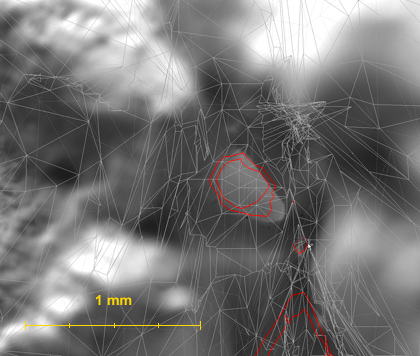
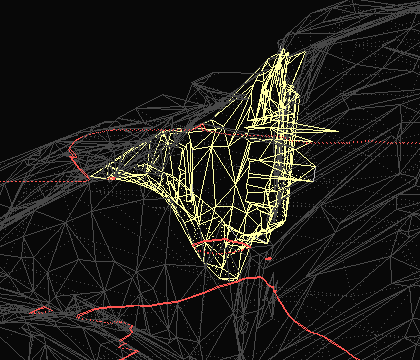
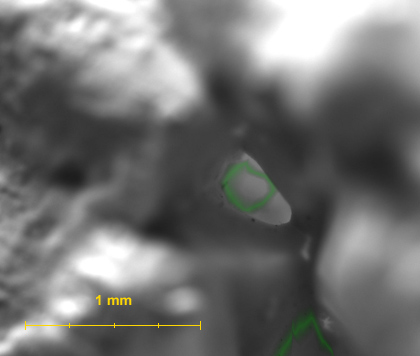
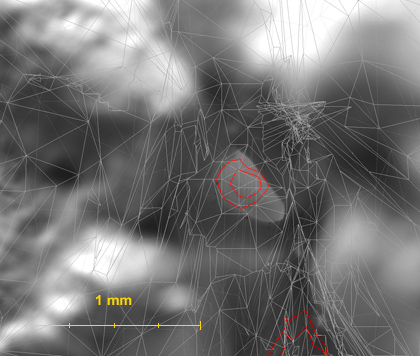
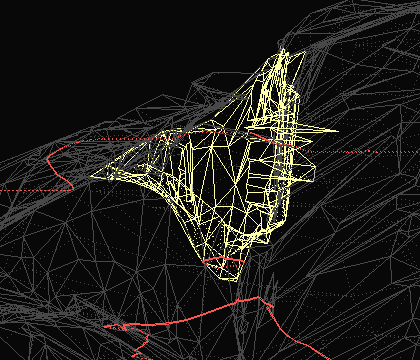
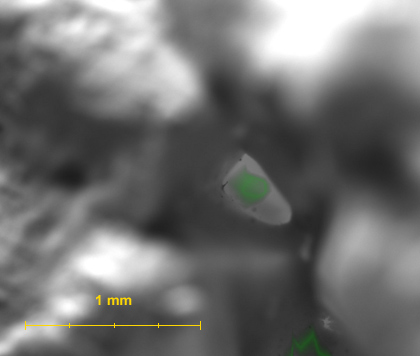
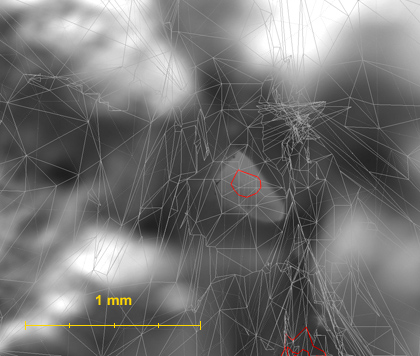
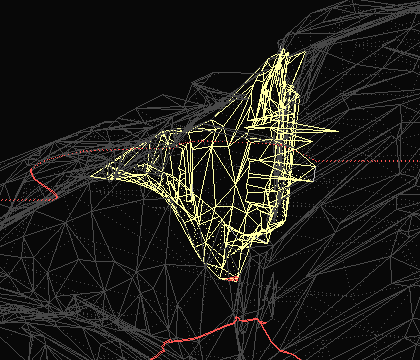
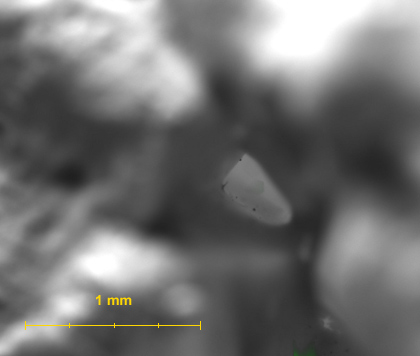
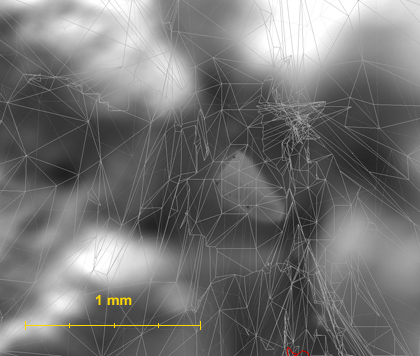
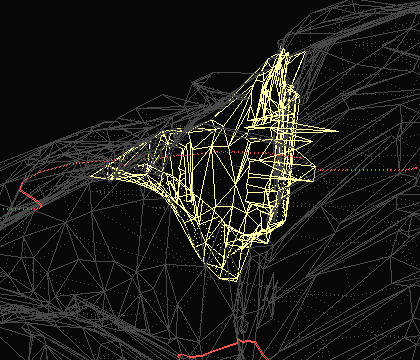
Step 4. Verifying cavity’s shape by photos After cavity is built examine shape of the cavity with cavity visualization option. Cavity visualization allows to make sure that cavities on the stone surface are created correctly. To verify auto cavity’s shape: 1) Make active Microscope camera view and select an examined cavity in the list of cavities. Cavity is displayed as a slice of the cavity surface for each focus position. Green areas marked on images correspond to the intersection of camera focus area with the cavity surface model. In case of cavity is created correctly green mask on an image coincides with sharp details. See example on the table: |
| Green mask on an image coincides with sharp details (plane of field of depth 96 mkm) | Red layer on the pacor model correspondents to the green mask on the left picture (plane of field of depth 96 mkm) | Side view, the pozition of red layer on the pacor model correspondents to the green mask on the left picture |
 |
 |
 |
| 0 mkm | 0 mkm | 0 mkm |
 |
 |
 |
| -100 mkm | -100 mkm | -100 mkm |
 |
 |
 |
| -200 mkm | -200 mkm | -200 mkm |
 |
 |
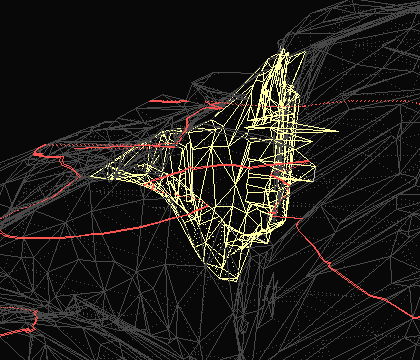 |
| -300 mkm | -300 mkm | -300 mkm |
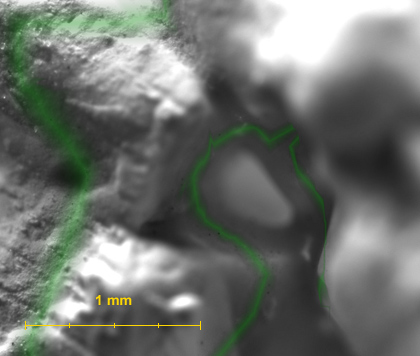 |
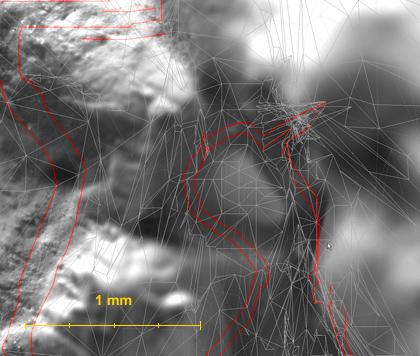 |
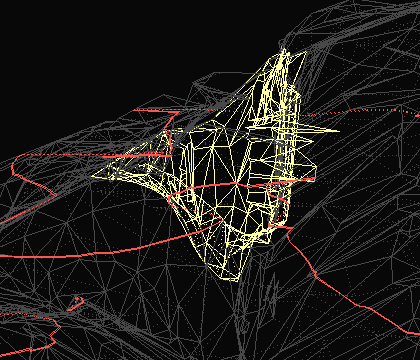 |
| -400 mkm | -400 mkm | -400 mkm |
 |
 |
 |
| -500 mkm | -500 mkm | -500 mkm |
 |
 |
 |
| -600 mkm | -600 mkm | -600 mkm |
 |
 |
 |
| -700 mkm | -700 mkm | -700 mkm |
 |
 |
 |
| -800 mkm | -800 mkm | -800 mkm |
 |
 |
 |
| -900 mkm | -900 mkm | -900 mkm |
 |
 |
 |
| -1000 mkm | -1000 mkm | -1000 mkm |
|
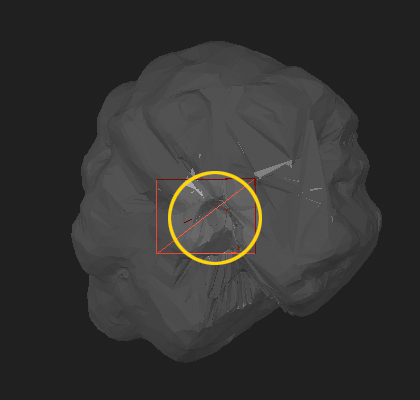
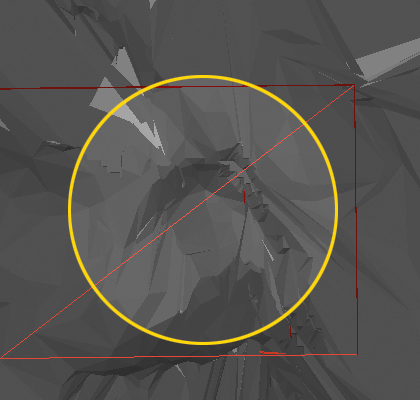
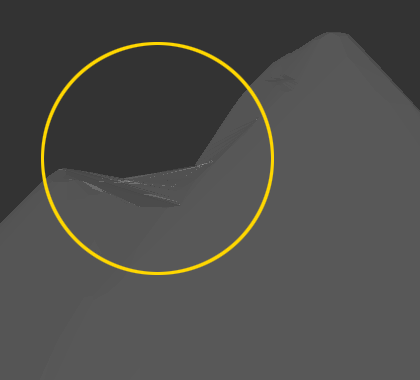
However, in case of cavity model is incorrect green mask would not be considered with sharp details. See an example of incorrect cavity allocation.
If auto cavity model is incorrect we recommend to disable the problematic cavity and perform building of cavity manually. Step 5. Creating large or long cavities To create large or long cavity do procedure of automatic building several times for covering full area of hole. In the result all 3d models of auto-cavities will be assembled together automatically and will be cut off from 3d model of rough diamond.
List of recommended M-Box systems and magnifications For optimal performance of Automatic Cavity Allocation we recommend to use:
For systems without hardware camera synchronization fine-tuning the light for automatic cavity allocation may be tricky. In case of getting repetitive Please decrease the light brightness or flickering effects may occur error messages try to:
This error may occur for systems with hardware synchronization. However typically it means that you just have to decrease front light illumination brightness slightly.
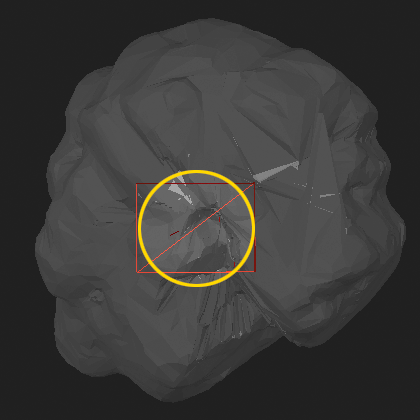
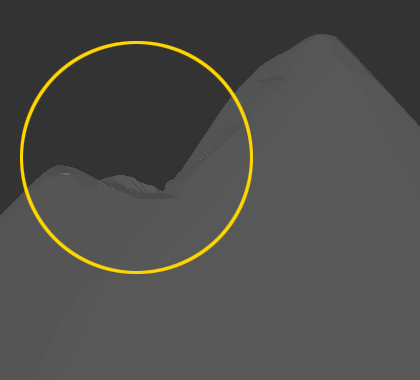
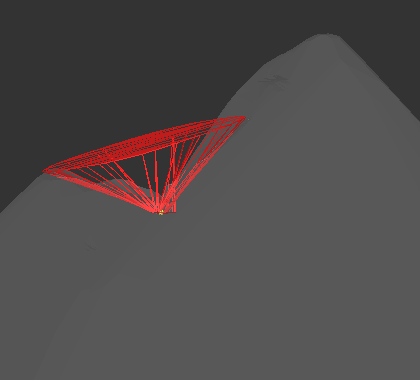
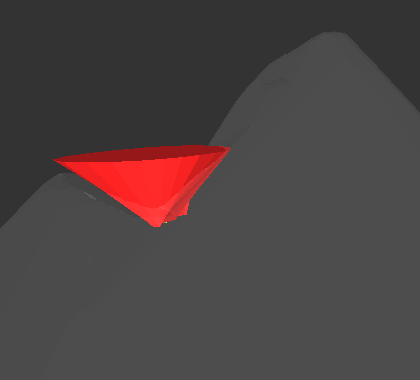
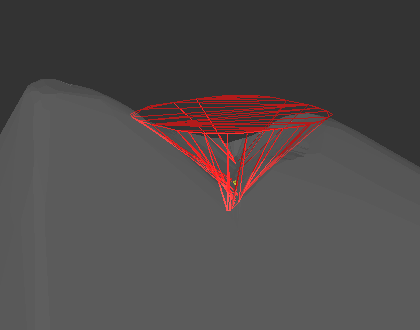
3D models of cavities inclusions are cut off from 3d model of rough. In previous versions 3D models of cavities were not cut off from the rough model and were used as inclusions inside rough model. See comparison on the pictures.
3D models of cavities have wireframe visualization in new Cavities working mode.
In previous versions cavities were constructed in Inclusions working mode and had solid visualization.
Autoexposure algorithm is significantly improved. New algorithm reduces flickering for short exposures and offers superior image quality due improving of convergence criteria.
Now M-Box works with 64-bit Windows 7 and 64-bit Windows Vista with new release of Oxygen Microscope. The feature is supported in OxygenHWS.dll since version 3.11.3.1 included in this release or higher. After connecting the hardware to the computer you will be asked for drivers for OctoNus USB devices. Download these drivers from the Oxygen Microscope download page in the section M-Box drivers for 64-bit Windows. Please note that new 64-bit drivers do not work on Windows XP and 32-bit operation systems, where old 32-bit drivers should be used.
The new reports came from Helium Polish software. For detailed description of new reports study section New advantages for analyzing girdle asymmetry and removing girdle asymmetry in the Helium Polish 5
|

